 Pin It
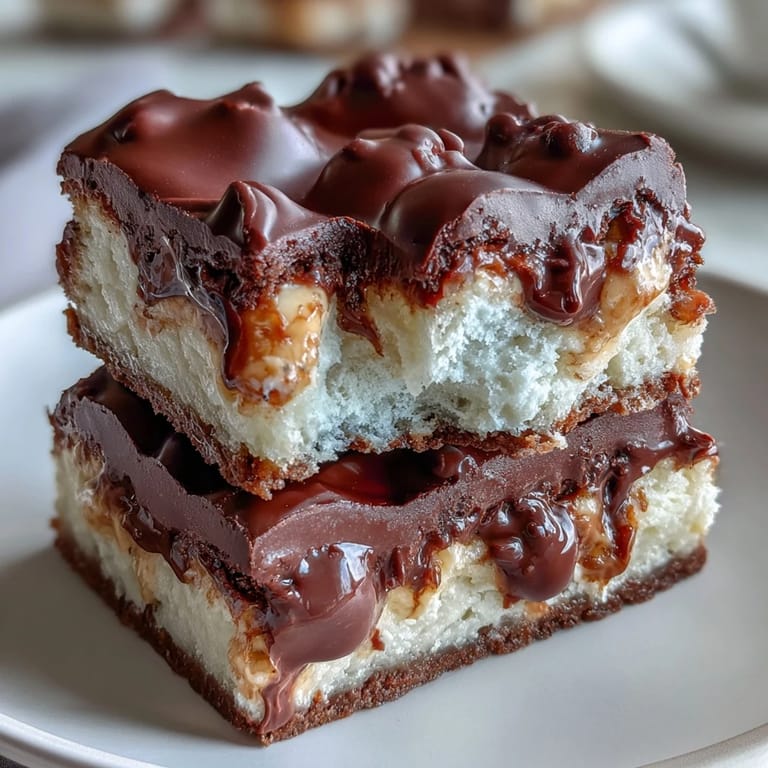
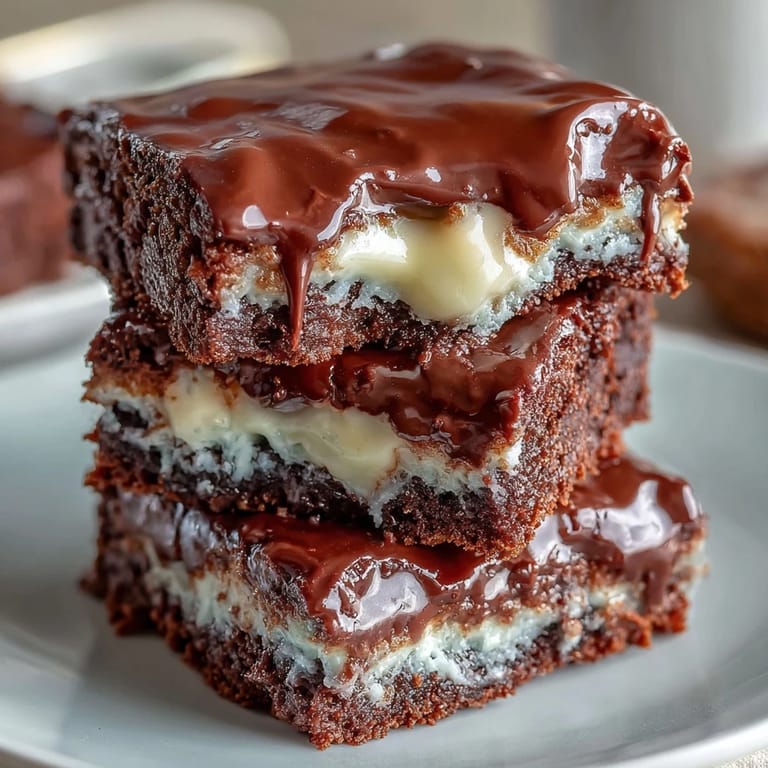
 My first encounter with clotted cream wasn't in a teacup with jam and scones—it was at the bottom of a mixing bowl, where I'd accidentally left it too long on the counter and wondered if I could salvage it by baking. Three hours later, I pulled these bars from the oven and discovered something magical: the clotted cream melted into the dough creating this impossibly tender crumb that regular butter alone could never achieve. The white chocolate chunks didn't hurt either, turning what could have been a mistake into something I'd deliberately recreate dozens of times since.
I baked these for my neighbor last autumn when she'd mentioned missing proper British biscuits, and watching her eyes light up when she bit into one felt like I'd somehow transported her across an ocean without leaving our driveways. She asked for the recipe immediately, then came back three days later asking if I'd made them with some kind of magic because hers turned out dense while mine stayed soft. Turns out she'd overmixed the dough—a lesson we both learned together, standing in her kitchen with flour still on my hands.
Ingredients
- Unsalted butter: Use softened butter rather than melted, as it traps air during creaming and gives these bars their signature tender crumb.
- Clotted cream: This is the secret ingredient—bring it to room temperature before mixing so it incorporates smoothly and doesn't create streaks of cold fat throughout the dough.
- Light brown sugar: The molasses in brown sugar adds depth and helps keep these bars moist for days without making them cakey.
- Granulated sugar: This balances the molasses and contributes to structure while brown sugar handles tenderness.
- Large egg: Room temperature eggs emulsify better with the butter and cream, creating a smoother batter.
- Pure vanilla extract: Don't skip this—it rounds out the subtle richness of the clotted cream and brings all the flavors into harmony.
- Fine sea salt: A small pinch intensifies the buttery flavor and prevents the bars from tasting one-dimensionally sweet.
- All-purpose flour: Sift this before measuring and mixing to avoid overdeveloping gluten, which would make these bars tough.
- Baking powder: Just enough to give the bars the gentlest lift without making them dense or fluffy.
- White chocolate chips: Chop whole white chocolate into chunks if you can—they melt into pockets of richness rather than disappearing entirely into the crumb.
Tired of Takeout? 🥡
Get 10 meals you can make faster than delivery arrives. Seriously.
One email. No spam. Unsubscribe anytime.
Instructions
- Prep your pan and heat the oven:
- Line your 9x9 inch pan with parchment paper, letting it overhang slightly on two sides so you can lift the entire batch out cleanly once cooled. Preheat to 350°F while you gather your ingredients—you want the oven ready to go the moment your dough is mixed.
- Cream the butter with clotted cream and sugars:
- This is where patience pays off—beat them together for 2–3 minutes until the mixture looks almost fluffy and pale, which means you've incorporated enough air to keep these bars tender. If you rush this step, you'll taste the difference in the final texture.
- Add the egg, vanilla, and salt:
- Mix on medium speed until everything is completely combined and the mixture looks smooth and slightly glossy. Stop scraping the bowl and check for streaks of unmixed clotted cream hiding at the bottom.
- Fold in the flour and baking powder:
- Sift them together first, then add gently—this is not the time for aggressive mixing. Stir just until you don't see any white streaks of flour remaining, then stop.
- Tuck in the white chocolate:
- Use a spatula to fold the chocolate chunks through the dough with the gentlest hand you can manage. Overmixing at this point can toughen the whole batch.
- Spread and smooth:
- Transfer the dough to your prepared pan and use an offset spatula or the back of a spoon to spread it in an even layer. Don't press down hard—you want a light touch that maintains the air you've worked into the dough.
- Bake until golden:
- Watch for the edges to turn golden brown, which should happen around 23–26 minutes. A toothpick inserted in the center should come out with just a few moist crumbs clinging to it—this is not the time for a dry, baked-through bar.
- Cool completely before cutting:
- I know this is torture, but these bars need to firm up in the pan before you try to cut them. Once fully cooled, use the parchment overhang to lift the entire slab out, then cut into 16 bars with a sharp, clean knife.
 Pin It
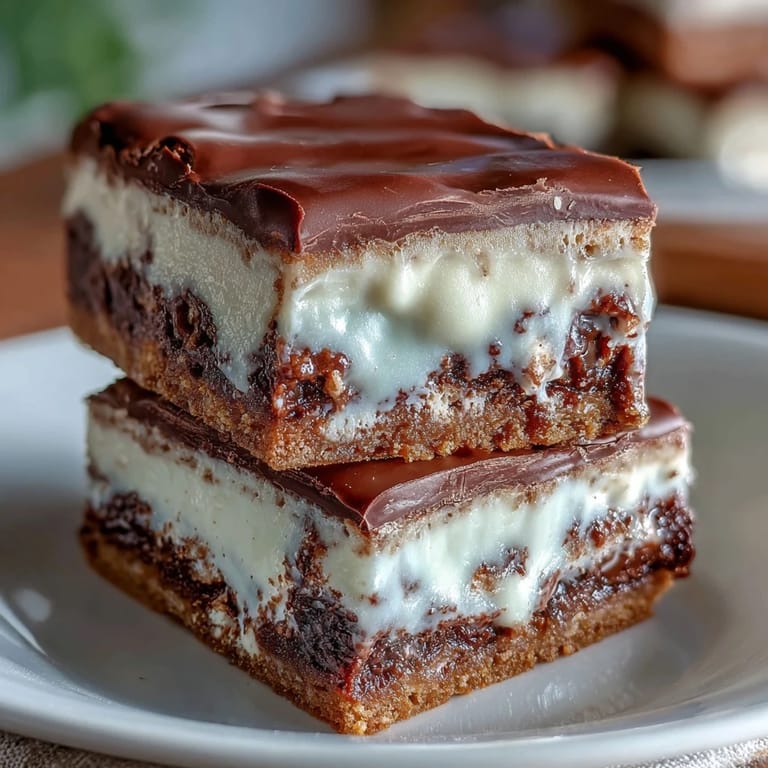
 These bars became my go-to when I needed to prove to someone that baking wasn't as complicated as they thought—there's something reassuring about watching them understand that luxury doesn't always require complicated techniques, just good ingredients and gentle handling. Every person who's eaten one has asked me the same question: what makes them taste like that, and why can't they replicate it at home?
The Secret of Clotted Cream in Baking
Clotted cream is mostly butterfat with cream solids, which means it behaves differently than butter alone during creaming—it adds moisture and richness while keeping the bars impossibly tender because there's less solid fat creating structure. The first time I used it, I was convinced I'd made a mistake because the dough looked almost loose compared to my usual cookie dough, but that looseness is exactly why these bars don't turn out dense or heavy. Think of it as baking with partially melted butter that's been strained through cream, and suddenly the magic makes sense.
White Chocolate: Selection and Storage
Not all white chocolate is created equal—some contains very little cocoa butter and tastes waxy, while good quality white chocolate melts on your tongue and actually tastes like something. For these bars, buy chocolate that lists cocoa butter in the ingredients, or chop a block of good baking white chocolate into chunks. Once baked, store these bars in an airtight container at room temperature where they'll stay soft and tender for up to four days, though they rarely last that long in my house.
Variations and Finishing Touches
The beauty of this base dough is that it welcomes experimentation—I've made versions with dark chocolate chunks for the less sweet-toothed friends, swapped in lemon zest for brightness, and even folded in crushed biscuits for texture. A drizzle of melted white chocolate across the top once the bars are completely cooled adds elegance without effort, and a light sprinkle of fleur de sel on top makes people ask what restaurant you're hiding in your kitchen.
- Try adding a teaspoon of lemon or orange zest to the butter mixture for a subtle citrus note that brightens the richness.
- Serve these bars with fresh raspberries or strawberries on the side to cut through the sweetness and add a pop of color.
- If you want to dress them up, dust the cooled bars with powdered sugar or drizzle them with white chocolate thinned with a tiny bit of coconut oil.
 Pin It
 These bars remind me that the best desserts aren't the ones that show off complicated techniques—they're the ones that taste like someone made them just for you. Make a batch this weekend and find out why people keep coming back asking for more.
Recipe FAQs
- → What role does clotted cream play in these bars?
Clotted cream adds a rich, velvety texture and deep dairy flavor, enhancing the bars' moistness and indulgence.
- → Can I substitute white chocolate with other types?
Yes, milk or dark chocolate can be used instead to vary sweetness and flavor intensity.
- → How do I know when the bars are fully baked?
Edges should turn golden and a toothpick inserted near the center comes out with a few moist crumbs attached.
- → What is the purpose of folding in white chocolate chunks gently?
Gentle folding prevents overmixing, keeping the texture tender while evenly distributing chunks.
- → How should these bars be stored?
Store in an airtight container at room temperature for up to four days to maintain freshness.
- → Can I add toppings after baking?
Yes, drizzling melted white chocolate after cooling adds an elegant touch and extra flavor.