 Pin It
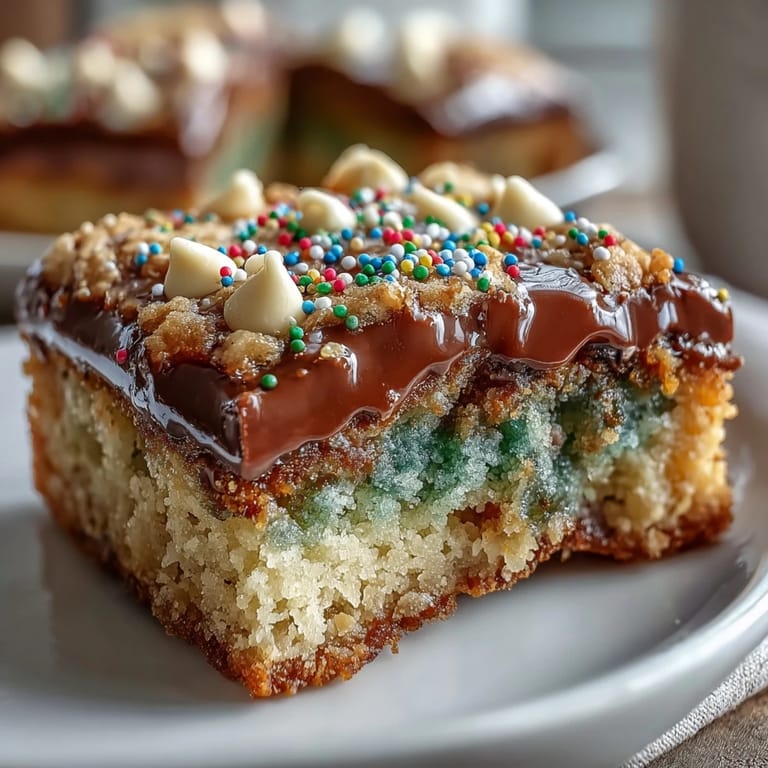
 My kitchen smells like butter and sugar the moment March arrives, which is when my neighbor starts hinting about St. Patrick's Day treats. Last year, I wanted something between a cookie and a brownie—something that would make people smile without requiring intricate decorating skills. These rainbow bars came together almost by accident, born from the simple idea of layering sprinkles into a buttery base and letting the oven do the heavy lifting. They're the kind of dessert that looks like you spent hours on them but honestly takes about 20 minutes of actual work.
I made these for my daughter's school potluck, and watching the other kids' faces light up when they saw the rainbow layers was worth more than any compliment. One kid asked if I'd made them from scratch, and I honestly got a little misty—not because they were complicated, but because something so simple brought that much joy. That's when I realized this recipe wasn't about impressing anyone; it was about celebrating with color and butter and a little bit of sprinkle magic.
Ingredients
- All-purpose flour (2 cups): This is your structure, the thing that keeps these bars from becoming pudding in the pan, so don't skip the whisk step with the baking powder.
- Baking powder (1/2 teaspoon): A tiny amount lifts the bars just enough to make them tender without making them cake-like.
- Salt (1/4 teaspoon): This balances the sweetness and makes the butter taste richer, even though you barely notice it's there.
- Unsalted butter (3/4 cup, melted and cooled): Melt it completely and let it cool for a minute or two so the eggs don't scramble when you add them.
- Granulated sugar and light brown sugar (1 cup and 1/2 cup): The combination of both sugars gives you crispy edges and a tender center—one type alone won't give you that contrast.
- Large eggs (2): Room temperature eggs mix more smoothly, so pull them out of the fridge while you're prepping everything else.
- Pure vanilla extract (2 teaspoons): This is not a place to use imitation; the real stuff makes a noticeable difference in something this simple.
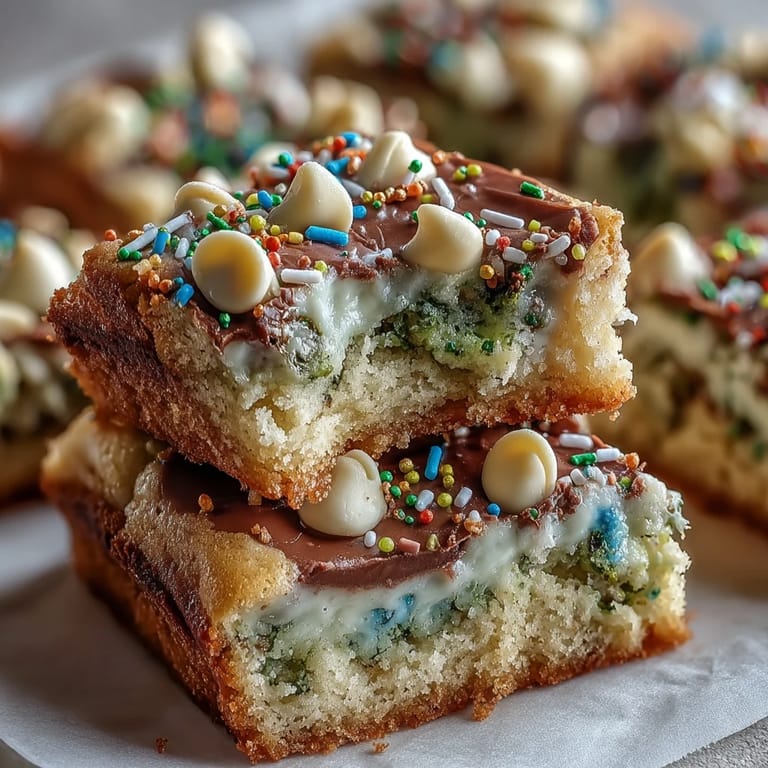
- White chocolate chips (3/4 cup): They add pockets of richness and complement the sprinkles without competing for attention.
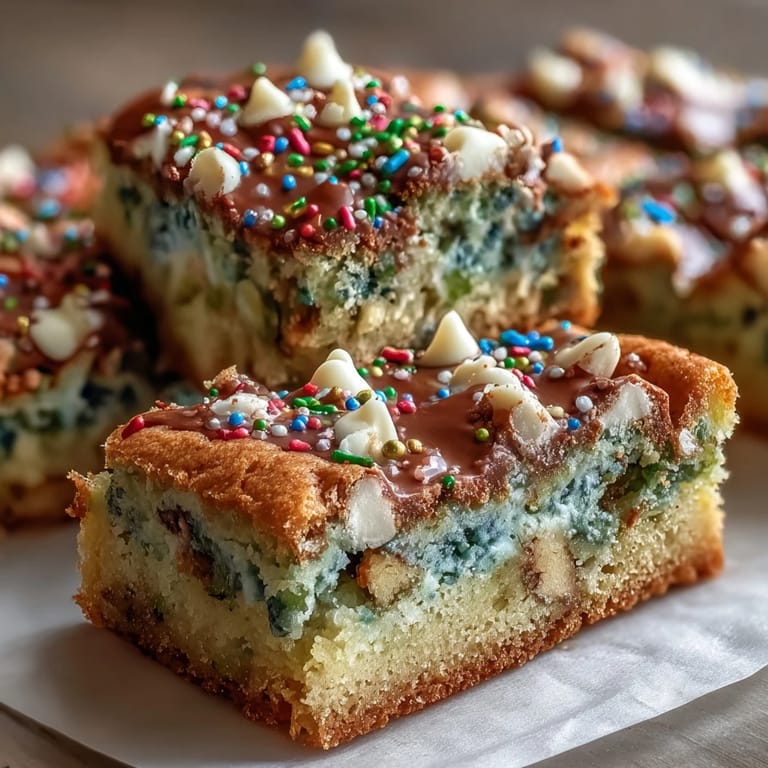
- Rainbow sprinkles (1/2 cup, divided): Fold half into the batter for color throughout and sprinkle the rest on top so they stay vibrant and don't dissolve into the dough.
Tired of Takeout? 🥡
Get 10 meals you can make faster than delivery arrives. Seriously.
One email. No spam. Unsubscribe anytime.
Instructions
- Prepare your stage:
- Preheat your oven to 350°F and line that 9x9 pan with parchment paper, letting the edges hang over so you can lift the whole thing out later. I learned the hard way that trying to cut bars out of a pan without parchment is basically asking for crumbled edges and a frustrated version of yourself.
- Combine dry ingredients:
- Whisk flour, baking powder, and salt in a medium bowl until they're evenly mixed. This prevents dense pockets of flour in your finished bars.
- Build the wet base:
- In a large bowl, whisk together the cooled melted butter and both sugars until the mixture looks smooth and slightly thick. Add your eggs one at a time, whisking well between each addition, then add the vanilla and whisk until everything is pale and combined, about a minute of actual whisking.
- Gently marry wet and dry:
- Pour the dry ingredients into the wet and use a spatula to fold everything together—and I mean fold, not stir aggressively. Overmixing develops gluten and makes these bars tough, so stop as soon as you don't see any white flour streaks.
- Add your colors and chocolate:
- Fold in the white chocolate chips and about 1/3 of the sprinkles so the color is distributed throughout the batter. The sprinkles will stain the dough slightly, but that's exactly what you want.
- Transfer and top:
- Spread the batter evenly into your prepared pan—use an offset spatula or the back of a spoon to smooth it out. Sprinkle the remaining sprinkles generously across the top, pressing them down ever so slightly so they stay in place while baking.
- Bake until golden:
- Pop the pan into the oven for 25 to 28 minutes; you're looking for golden edges and a toothpick that comes out mostly clean from the center, with maybe a few moist crumbs clinging to it. If the top starts browning too fast, you can loosely tent it with foil for the last 5 minutes.
- Cool completely:
- Let these sit in the pan on a wire rack for at least an hour—they'll firm up as they cool and you'll actually be able to cut clean bars instead of crumbly chunks. Patience here pays off, I promise.
 Pin It
 There's something about a homemade bar cookie that feels special in a way store-bought ones never quite manage. The first person to try these said they tasted like celebration, which is exactly what I was going for.
Why These Bars Work for St. Patrick's Day
St. Patrick's Day doesn't need to be complicated—green food coloring and shamrock shapes are fun, but butter and sprinkles and white chocolate are honestly better. These bars let you celebrate without overthinking it, and the rainbow sprinkles do all the festive work for you. I've made these for everyone from coworkers to kids' parties, and the reaction is always the same: immediate happiness and a second bar disappearing before you can even offer one.
Storage and Make-Ahead Tips
These bars actually get a tiny bit better on day two as the flavors settle, so making them the day before is not a shortcut, it's a strategy. Keep them in an airtight container at room temperature and they'll stay soft and fresh for up to four days, though they rarely last that long in my house. You can also wrap individual bars in plastic wrap and freeze them for up to a month, then pull one out whenever you need a quick sweet moment.
Optional Finishes That Push It Further
If you want to take these from festive to show-stopping, there are a few simple additions that feel fancy but take minutes. A drizzle of melted white chocolate across the cooled bars adds elegance, or you can scatter small shamrock-shaped candies on top while they're still warm so they stick slightly. You could also swap the white chocolate chips for milk or semisweet chocolate if that's what you have on hand—honestly, I've made these with both and they're delicious either way, so don't let a missing ingredient stop you.
- Melted white chocolate drizzled across the bars after cooling adds a professional touch that nobody needs to know took 90 seconds.
- A light sprinkle of fleur de sel over the top brings out all the buttery sweetness and makes people wonder what you did differently.
- Store-bought shamrock or gold leaf decorations scattered on top turn these into something that looks like it came from a bakery.
 Pin It
 These bars are the proof that the best desserts don't require complicated techniques—just good butter, some sprinkles, and a willingness to celebrate the small, sweet moments. Make them for yourself, make them for someone else, or make them for no reason at all.
Recipe FAQs
- → What makes these bars festive and colorful?
The inclusion of rainbow sprinkles in green, gold, and rainbow hues adds a vibrant and festive look to the bars.
- → Can I substitute the white chocolate chips?
Yes, semisweet or milk chocolate chips can be used as an alternative based on preference.
- → How do I ensure the bars bake evenly?
Use a parchment-lined 9x9 inch pan and bake at 350°F until edges turn golden and a toothpick comes out mostly clean.
- → How should these bars be stored?
Store in an airtight container at room temperature for up to four days to maintain freshness.
- → What allergens are present in these bars?
They contain wheat, eggs, and milk, with possible traces of soy and nuts depending on sprinkles or chocolate.