 Pin It
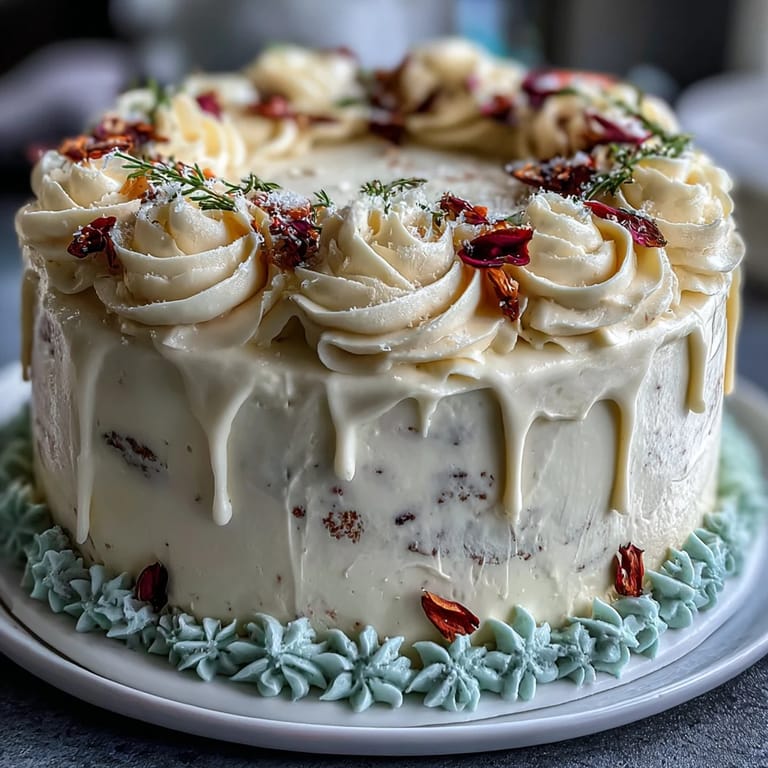
 There's something magical about baking a cake that's meant to mark a milestone. I stumbled into making sheet cakes years ago when a friend asked if I could help her celebrate her daughter's graduation, and what started as nervous energy in the kitchen turned into three hours of piping buttercream roses while we talked about life chapters closing and new ones beginning. The vanilla cake itself is forgiving and generous, but those handmade roses—they transform it into something that feels personal, like you actually took time to celebrate someone properly. Every graduation cake I've made since has become less about following instructions and more about the quiet satisfaction of creating something beautiful with your own hands.
I'll never forget standing in my sister's kitchen at 11 PM the night before her graduation party, frosting this cake while she paced nervously about her speech. The smell of vanilla filled the whole house, and somehow, by the time I'd finished piping the last rose in soft pink, she was calm enough to sit down and laugh about something ridiculous. That cake became the backdrop for every photo that night, and years later, people still mention how beautiful it was.
Ingredients
- All-purpose flour (3 cups): This is your foundation—sift it if you want an extra-tender crumb, though whisking works just fine if you're in a hurry.
- Baking powder and baking soda (2½ tsp and ½ tsp): They work together to give the cake that perfect rise and tender texture; don't skip the baking soda or your crumb will feel dense.
- Salt (½ tsp): A small amount that brings out the vanilla without tasting salty at all.
- Unsalted butter (1 cup for cake, 1½ cups for frosting): Room temperature is non-negotiable here—cold butter won't cream properly and you'll end up with dense cake or grainy frosting.
- Granulated sugar (2 cups): Creaming this with butter takes a few minutes but creates the tiny air pockets that make the cake light.
- Large eggs (4), room temperature: Cold eggs won't incorporate smoothly and can cause the batter to curdle; set them out 30 minutes before baking.
- Vanilla extract (1 tbsp for cake, 2 tsp for frosting): Use real vanilla if you can—it makes an actual difference in the final flavor.
- Whole milk (1¼ cups for cake, ¼ cup for frosting), room temperature: Cold milk can shock the batter; I learned this the hard way by creating tiny lumps that never fully mixed.
- Powdered sugar (6 cups, sifted): Sifting takes two minutes but eliminates lumps that'll show up in your frosting.
- Gel food coloring (assorted colors): Gel is worth seeking out because it won't water down your buttercream like liquid coloring does.
Tired of Takeout? 🥡
Get 10 meals you can make faster than delivery arrives. Seriously.
One email. No spam. Unsubscribe anytime.
Instructions
- Prepare your workspace:
- Preheat your oven to 350°F and grease that 12x18-inch pan generously before lining it with parchment paper—this ensures your cake releases cleanly and won't stick at the edges.
- Combine dry ingredients:
- Whisk together the flour, baking powder, baking soda, and salt in a medium bowl, making sure the leavening agents are evenly distributed throughout the flour.
- Cream butter and sugar:
- Beat room temperature butter and sugar together for 3-4 minutes until it looks pale and fluffy like clouds; this creates the texture foundation of your cake.
- Add eggs and vanilla:
- Drop in eggs one at a time, waiting for each to fully incorporate before adding the next, then mix in vanilla until everything is smooth and cohesive.
- Alternate wet and dry:
- Starting and ending with flour, add the dry mixture and milk in alternating additions, stirring just until combined after each—this prevents overmixing, which would toughen the cake.
- Bake with confidence:
- Pour the batter into your prepared pan, smooth the top, and bake for 30-35 minutes until a toothpick inserted in the center comes out clean with just a few moist crumbs.
- Cool completely:
- Let the cake cool in the pan on a wire rack for at least an hour before turning it out; trying to frost a warm cake is asking for a mess.
- Make the frosting:
- Beat the room temperature butter until creamy, then gradually add sifted powdered sugar, milk, and vanilla, beating for about 5 minutes until it's light and fluffy with no lumps.
- Tint your colors:
- Divide the buttercream into separate bowls and add gel food coloring drop by drop, stirring until you reach the shade you want—gel is forgiving because you can always add more color, but you can't take it out.
- Create a smooth base:
- Spread a thin layer of white buttercream all over the cooled cake with an offset spatula, creating an even surface that the roses will stick to.
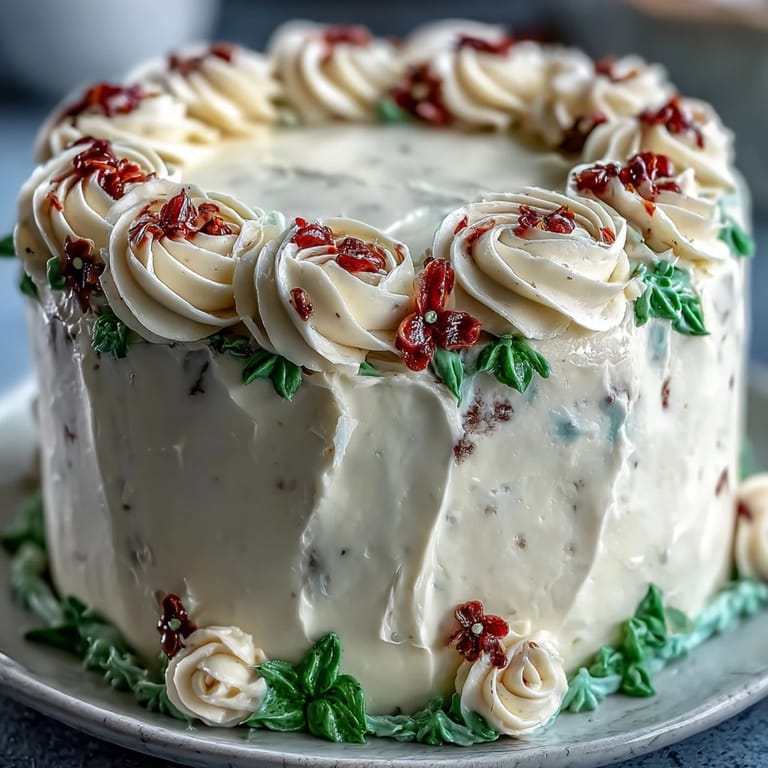
- Pipe roses and leaves:
- Using a petal tip for roses and a leaf tip for greenery, pipe flowers across the cake in whatever pattern feels right—corners, a border, or scattered across the top are all stunning options.
- Add your message:
- Use a small round tip and contrasting buttercream color to pipe your congratulations message or personalized text wherever it fits naturally on the design.
 Pin It
 I've learned that the most meaningful part of making this cake isn't the piping technique or perfect buttercream—it's the moment when someone you care about sees their name written in frosting roses, and their entire face lights up. That's when you realize you didn't just bake a cake; you created a memory they'll reference for years.
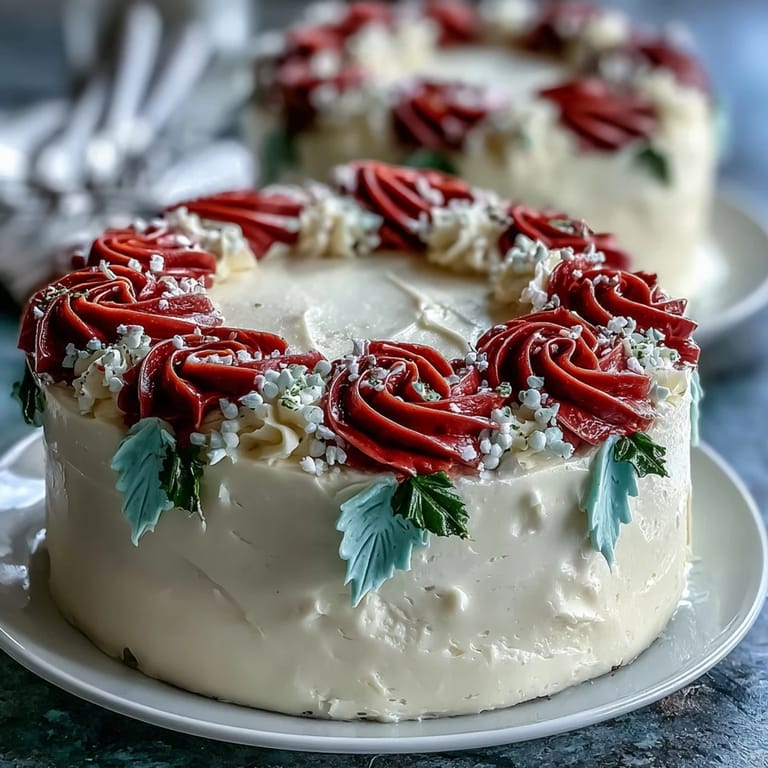
The Secret to Piping Roses
Piping roses intimidates people, but honestly, they're forgiving once you understand the basic motion. The petal tip creates thin, flexible petals that you layer in a spiral, and imperfect ones actually look more natural than perfect ones. I discovered this while making my third graduation cake, when my hands were shaking from caffeine and exhaustion, and I accidentally created roses that looked like they'd been hand-gathered from a garden rather than piped from frosting.
- Start with a small base dot and build the spiral upward and outward, overlapping each petal slightly.
- Keep your piping bag at a 45-degree angle for the most natural-looking petals.
- If a rose falls apart, just scrape it back into the bowl and the buttercream is reusable—there's no such thing as a wasted attempt.
Timing and Preparation Strategy
Make the cake the day before if you can, and store it wrapped at room temperature—this actually makes it easier to frost because the cake is sturdier and less likely to crack. Buttercream can be made up to three days ahead and kept in an airtight container in the fridge; just bring it back to room temperature and re-beat it before piping. The stress of trying to do everything the day of the party is real, and spreading the work out turns the experience from frantic to actually enjoyable.
Flavor Variations and Personal Touches
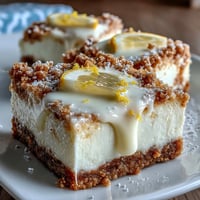
While vanilla is classic, you have plenty of room to make this cake your own. Substitute ¾ cup of flour with unsweetened cocoa powder if chocolate is more fitting for the celebration, or add a teaspoon of lemon zest to the batter for brightness. The buttercream can be flavored too—a tiny splash of almond extract, a hint of raspberry, or even cream cheese mixed in. I once made this cake with lavender-tinted frosting and lemon zest in the batter for a friend studying botanical illustration, and it felt like the cake itself was celebrating her specifically.
- Test any major flavor changes in a small batch first so you're not experimenting on the actual graduation cake.
- Remember that colors are subjective—what you think is the perfect shade might look different under party lighting, so don't stress about exact colors.
- Personalization matters more than perfection, so add whatever makes the cake feel connected to who you're celebrating.
 Pin It
 Celebrating someone's graduation deserves a cake that shows you cared enough to try, and this one delivers on that promise every time. You've got this.
Recipe FAQs
- → How do I achieve moistness in the sheet cake?
Use room temperature ingredients and avoid overmixing the batter. Adding the milk alternately with flour helps maintain moisture and a tender crumb.
- → What is the best way to pipe the buttercream roses?
Use a petal piping tip and rotate the piping bag while applying gentle pressure. Practice on parchment before decorating the cake for cleaner petals.
- → Can I prepare the cake decorations in advance?
Yes, you can tint and pipe the buttercream roses ahead of time. Store them covered in the refrigerator until ready to use, then bring to room temperature before placing on the cake.
- → What substitutes can I use for the butter in the cake and frosting?
Unsalted butter is preferred for flavor and consistency, but you can experiment with margarine or shortening, keeping in mind it may affect texture and taste.
- → How should the cake be stored after decorating?
Store covered at room temperature for up to 2 days or refrigerate for up to 5 days to keep the buttercream fresh without drying out the cake.