 Pin It
 My partner came home one afternoon with a jar of fancy peanut butter, the kind with just one ingredient on the label. I'd been craving something sweet but had no flour, no butter, nothing in the pantry except the basics. I grabbed an egg, some sugar, and stared at that peanut butter jar wondering if the impossible was actually possible. Fifteen minutes later, we had warm cookies on the counter that tasted like childhood simplified into its purest form. It felt like magic, honestly—three things becoming something whole.
I made these for a friend who'd just gone gluten-free, and I remember her taking one bite and getting quiet in that way people do when something is exactly what they needed. She asked for the recipe right there, mid-chew, and I loved being able to tell her it was embarrassingly simple. Sometimes the best gifts are the ones that make people feel less alone in their dietary restrictions, and these cookies did that without any fanfare or apology.
Ingredients
- Creamy peanut butter: Use unsweetened or lightly sweetened—this is your flavor foundation, so choose one you'd actually eat straight from the jar. Natural peanut butter works but it splits; creamy holds the dough together like a quiet promise.
- Granulated sugar: This sweetens and also helps the cookies spread and crack beautifully; brown sugar will make them denser and chewier if you prefer that route.
- Large egg: One egg binds everything and creates that signature tender crumb—don't skip it, and don't worry about the rawness if you taste the dough; the baking will catch it.
Tired of Takeout? 🥡
Get 10 meals you can make faster than delivery arrives. Seriously.
One email. No spam. Unsubscribe anytime.
Instructions
- Heat the oven and prep:
- Set your oven to 350°F and line a baking sheet with parchment paper. The parchment is your friend here—it keeps them from sticking and lets you slide them off with confidence.
- Mix the magic:
- Combine peanut butter, sugar, and egg in a bowl and stir until the mixture is smooth and unified. You'll notice how the egg breaks down the peanut butter's thickness and creates something workable.
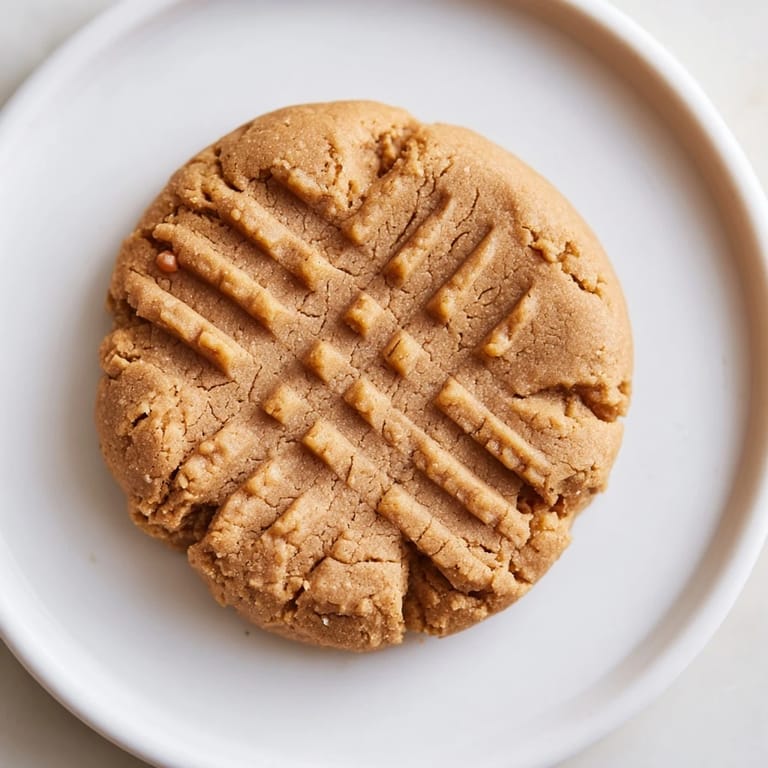
- Shape and pattern:
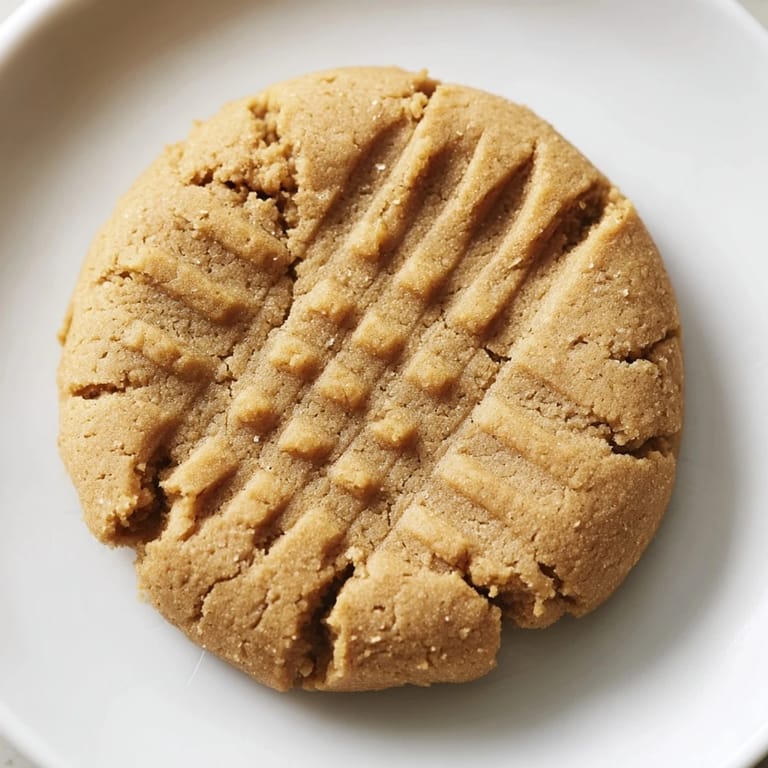
- Scoop tablespoon-sized balls, roll them smooth between your palms, and place them two inches apart on your sheet. Press each one flat with a fork in that classic crisscross pattern—it's not just for looks; it helps them bake evenly.
- Bake until they crack:
- Slide them into the oven for 9 to 11 minutes, watching for the moment the edges set but the tops still look slightly underbaked. This is the secret—they'll seem soft and vulnerable, but that's exactly when they're perfect.
- Cool with patience:
- Let them rest on the hot pan for five minutes; they'll firm up and come loose easily. Then move them to a wire rack where they finish cooling and develop that final snap.
 Pin It
 There's something quietly powerful about a recipe this honest. No complicated steps to hide behind, no long ingredient list to blame if something goes wrong. Just three things and your instincts, which somehow makes the success feel earned.
Flavor Variations
I've learned that simplicity invites experimentation. Brown sugar instead of white makes them darker and more molasses-forward, like a different cookie wearing the same shape. A pinch of sea salt on top before baking brightens the peanut flavor in an almost shocking way. Vanilla extract or almond extract adds a whisper of depth without changing the texture. Some people press a chocolate chip into each cookie before baking—I did this once and my kitchen smelled like an impossible dream.
Storage and Keeping
These cookies stay soft in an airtight container for days, which feels like a gift since most cookies crystallize and harden. I learned to keep mine in a tin with a piece of bread—something about the moisture keeps them from drying out, a trick my grandmother swore by that actually works. They also freeze beautifully either baked or unbaked, so you can have warm cookies whenever the craving hits without the planning.
Why This Recipe Changed My Baking
These cookies taught me that sometimes constraints create clarity. No flour meant no gluten development to worry about, no butter meant fewer variables. I stopped thinking of simplicity as limitation and started seeing it as permission to actually taste what I was making. Every ingredient matters when there are only three, and that focus sharpens everything.
- Start with a room-temperature egg for easier mixing and better incorporation.
- If your dough seems too sticky, refrigerate it for ten minutes before scooping.
- These are naturally gluten-free and dairy-free, making them a rare cookie that actually works for multiple dietary needs.
 Pin It
 These cookies prove that sometimes the best things in life are actually simple—you just have to be brave enough to try them. Make them, share them, and watch people taste the possibility of peanut butter without apology.
Recipe FAQs
- → Can I use crunchy peanut butter instead of creamy?
Yes, using crunchy peanut butter adds texture but may slightly alter the softness and chewiness of the final product.
- → What is the best sugar to use for these treats?
Granulated sugar works well, but brown sugar can provide a richer, deeper flavor and a softer texture.
- → How can I add a chocolate twist?
Press a chocolate chip into each ball of dough before baking for a melty, chocolatey bite.
- → Are these treats suitable for gluten-free diets?
Yes, they naturally contain no flour, making them a great gluten-free option.
- → Why do the treats firm up after cooling?
While soft when warm, the treats set as they cool due to the peanut butter and sugar solidifying, creating a firmer texture.